Showing posts with label kid-made gifts. Show all posts

Wednesday, November 25, 2015

A Little Advent - Christmas Resource Round Up

Advent starts Sunday!  We sure are getting excited around here!  We even had trial runs of O Come, O Come Emmanuel!  and People Look East! at breakfast this morning!  Friday and Saturday we'll be pulling out the Advent wreath and Jesse Tree and dusting off some of the holiday books!  

I'm not planning on writing much that's Advent-y or Christmas-y this year.  But I did enjoy looking back through some of my past holiday posts and thought I'd stick some of them together here for you.  


I can't wait to get out holiday book basket out!  In this old post, I starred our
favorites.  What are you favorite picture books to share with kids during
Advent and Christmas?


For non-Christmas book ideas, check out my book lists page for lots of other great gift ideas!


Advent and Christmas Classical Music Recommendations
Music that we love that's not Rudolf the Red Nose Reindeer or Barenaked Ladies 
singing We Three Kinds (which I'm pretty sure is one of the all time absolute worst 
recordings of a Christmas song.  Of all time.  Ever.  All time.) 


Advent for Adults
My favorite books for my own personal spiritual reading during Advent.
(cause it's not just about kids, you know.)


10 Christmas Gift Ideas for Kids that Are Not Stuff
I love this list, if I do say so myself!  It's refreshing to bless our kids, and to be blessed by others with thoughtful gifts that don't add to our clutter.  
(Cause, boy, do we have enough clutter!)


But if you ARE in the market for some good old fashioned Christmas toys, here are some
that the kids and I heartily recommend!  


Want to help your kids made homemade gifts for family and friends??  Check out our Kids Made Gift series from last year and the Kids Craft Ideas page too!

And don't forget!  There are still many items available in the Ordinary Lovely Etsy Shop for your shopping convenience!


Friday, December 19, 2014

Button Flower Wall Hanging (Kid-Made Gift Series)

Have you and your kids been making lots of gifts this holiday seasons?  We have.  I'm a little crafted out, to tell you the truth.  So it's a good thing this is the final post in the kid-made gift series :)

Today's project is brought to you courtesy of Ruth, who made two of these lovely wall hangings this morning!


What you'll need:

embroidery hoop
 large piece of craft felt or other fabric
buttons
scraps of colored craft felt
needle, craft thread


Set up embroidery hoop with background felt or fabric.
Cut flower and leaf shapes from colored craft felt


Sew the buttons on, randomly spaced and placed.


Ruth used nine buttons on a 6 inch hoop.


Fold the flowers in half and make a small snip in the middle.


Fold the bottoms of the leaves and snip. 


"Button" three leaves onto the project.


Then add the flowers.


And... she's done!!  It's so colorful and cheery!!  I just think she did such a great job!


Trim the edges and add a ribbon to hang.


*   *   *   *   *   *

I hope you've enjoyed this kid-made gift series!  I loved writing it and was so grateful to the other lovely bloggers who contributed also!
I love encouraging my children to make gifts for family and friends, to teach them new handicrafts and skills, and to encourage sharing their talents with others while emphasizing generosity during the Christmas season! 
Thanks for joining me for this series.  Maybe I'll plan on another one next November/December :)


check out all the kid-made gifts in the series...


Friday, December 12, 2014

Toddler Scribble Art Book (Kid-Made Gift Series)

Today in the Kid-Made Gift Series, Amanda from Erring on the Side of Love shares a project she did with her two adorable sons. I've got to be honest with you, I believe this is a project of sheer genius and think it very likely that Amanda will skyrocket to toddler handmade Christmas gift fame after this concept hits the mass market :) I hope you love this idea as much as I do. I know you will... so after your done Pinning it and Tweeting it and plastering it all over Facebook, head over to Amanda's to see what other great stuff she's chatting about at Erring on the Side of Love (I stole her burlap garland idea... and she does things like make gourmet grilled cheese sandwiches... so you see, she's got more than a couple great ideas brewing over there!)
Amanda has also written another something else lovely here at Ordinary Lovely you may want to check out :)

If you're new here, welcome!
And especially to Amanda, welcome and thanks for contributing!


* * * * * *

Back when Theresa from Ordinary Lovely mentioned she was looking for bloggers to participate in her Kid-Made Gift Series, I got excited, thinking surely I could conjure up something fun for my 3 and 1 year old to make! ...surely!

Oh, how I was fooling myself. Throw in some teething mess, along with the attention span of 2-seconds for both my boys in this season of life, and I couldn't think of anything that could be counted as gift-worthy from these two little monkeys.


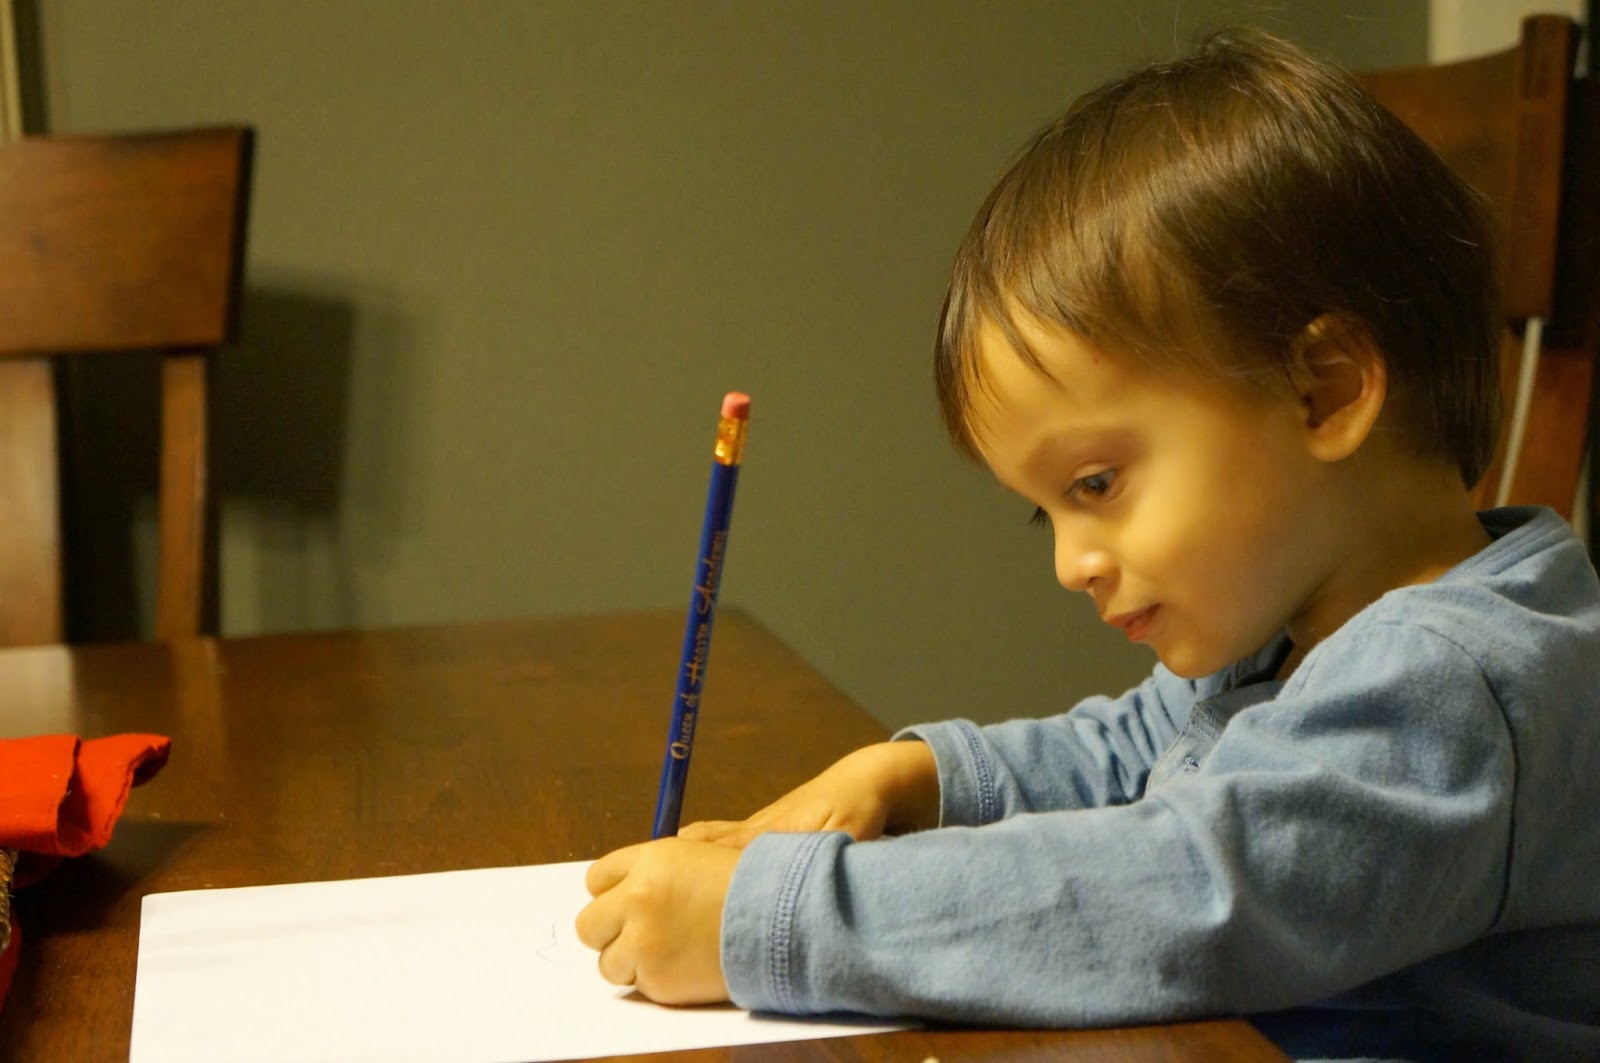
Then enter this little child. My artist. The one who loves to color and draw with colors, pens, paint, and markers.


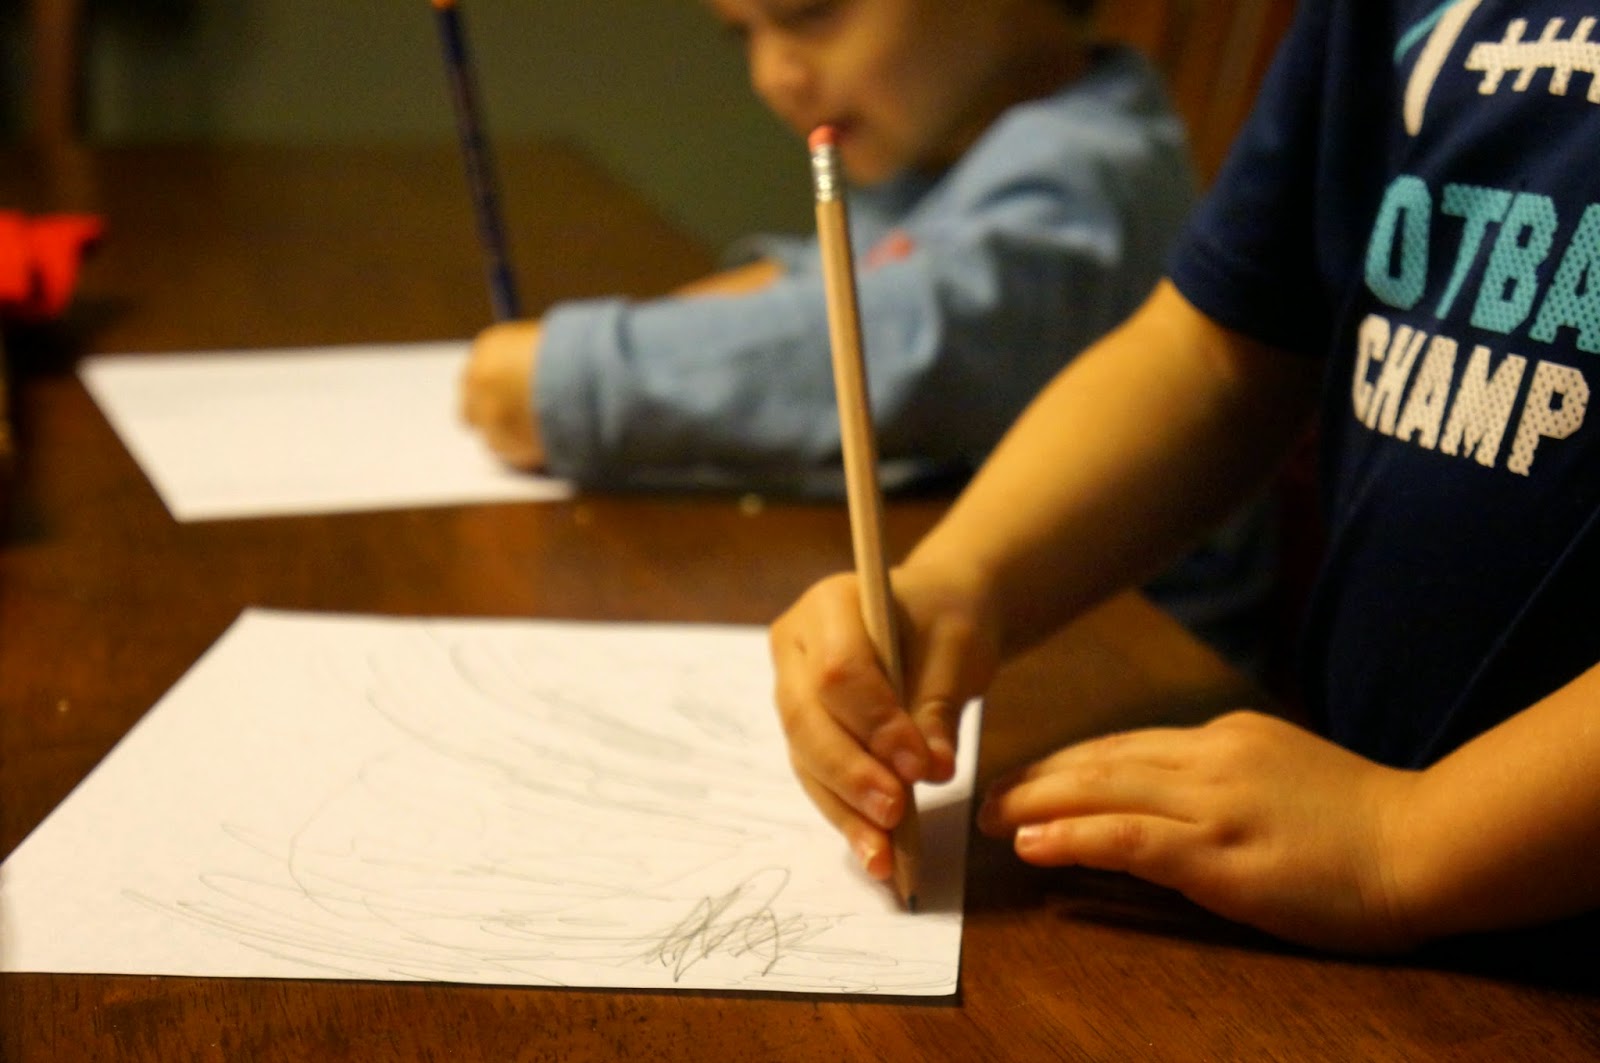
See, this is a new world for me. Having a little one who enjoys the arts. It always felt like pulling teeth to get my first born to color or draw with anything till Linus came around. His strokes are intentional and his focus is awesome. Now Bigfoot joins the artsy fun way more often than he used to, which is where this little gift comes in.


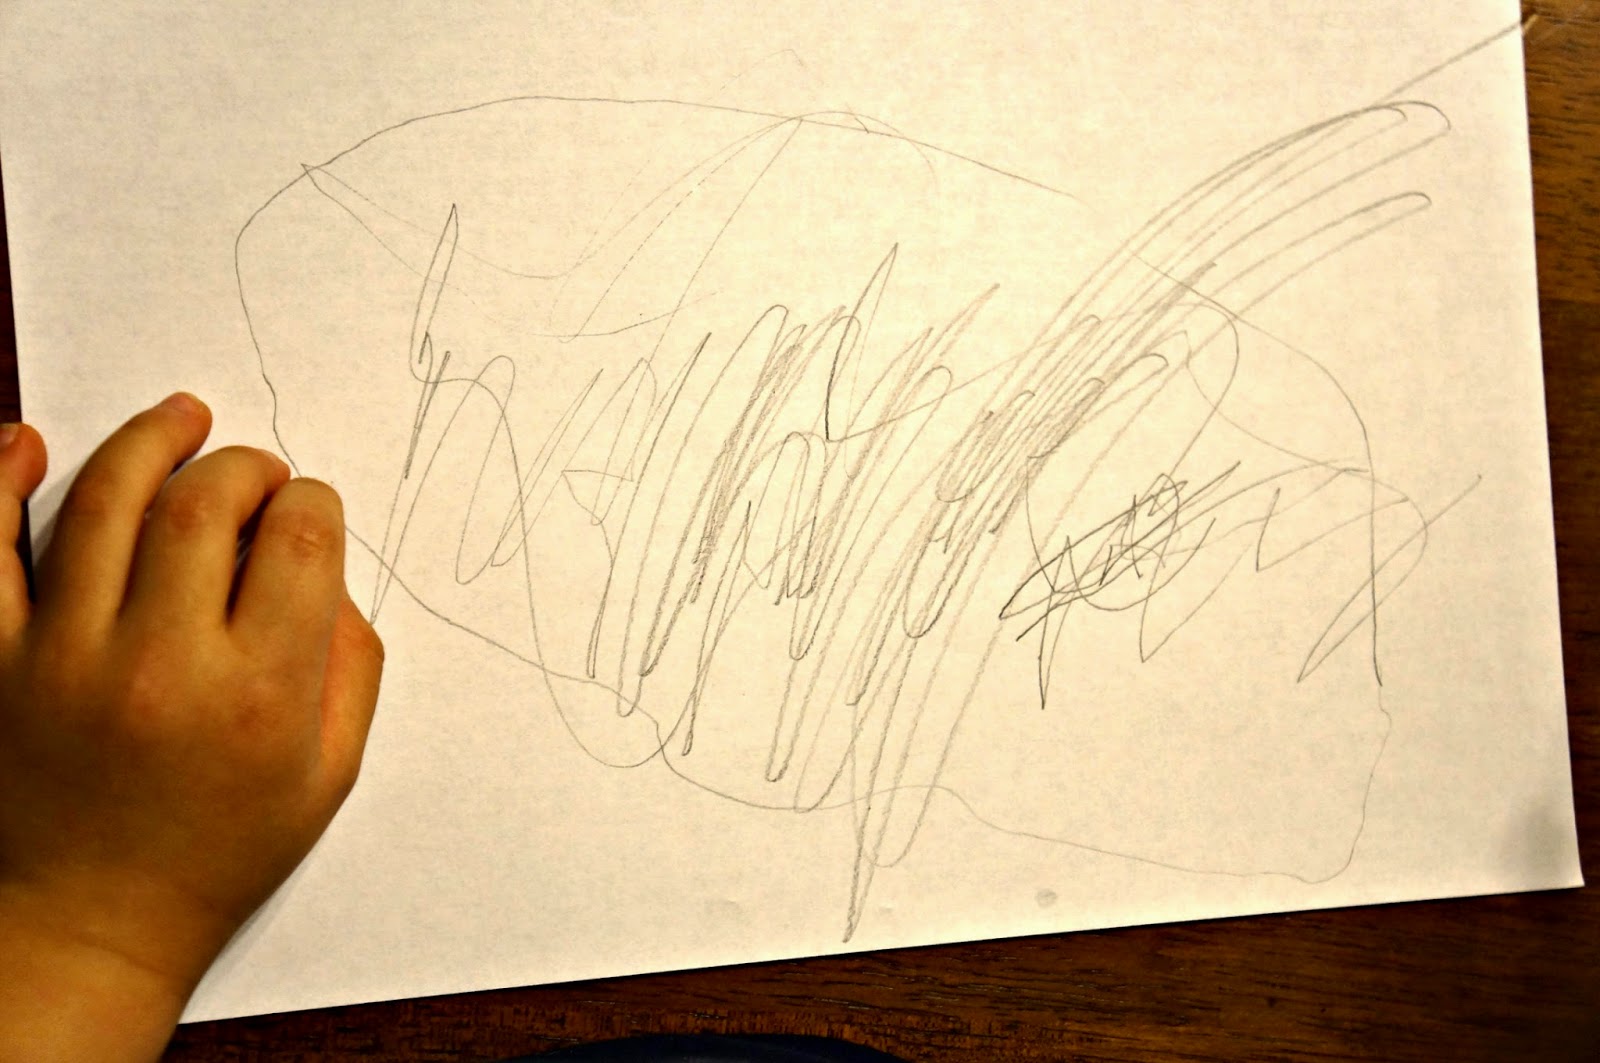
You know all those sheets and sheets of random scribbles the littles make? Some with stickers. Some just pencil. Some just markers. And, some made with stickers and pencil and markers? Those little or huge stacks you aren't quite sure what to do with? Unless you have this awesome scanner and filing organizational thing going on in which I then count you as awesome!


But if you don't have said organizational scanner awesomeness going and do have these stacks and stacks of art, I say let's put them together and make something with them!


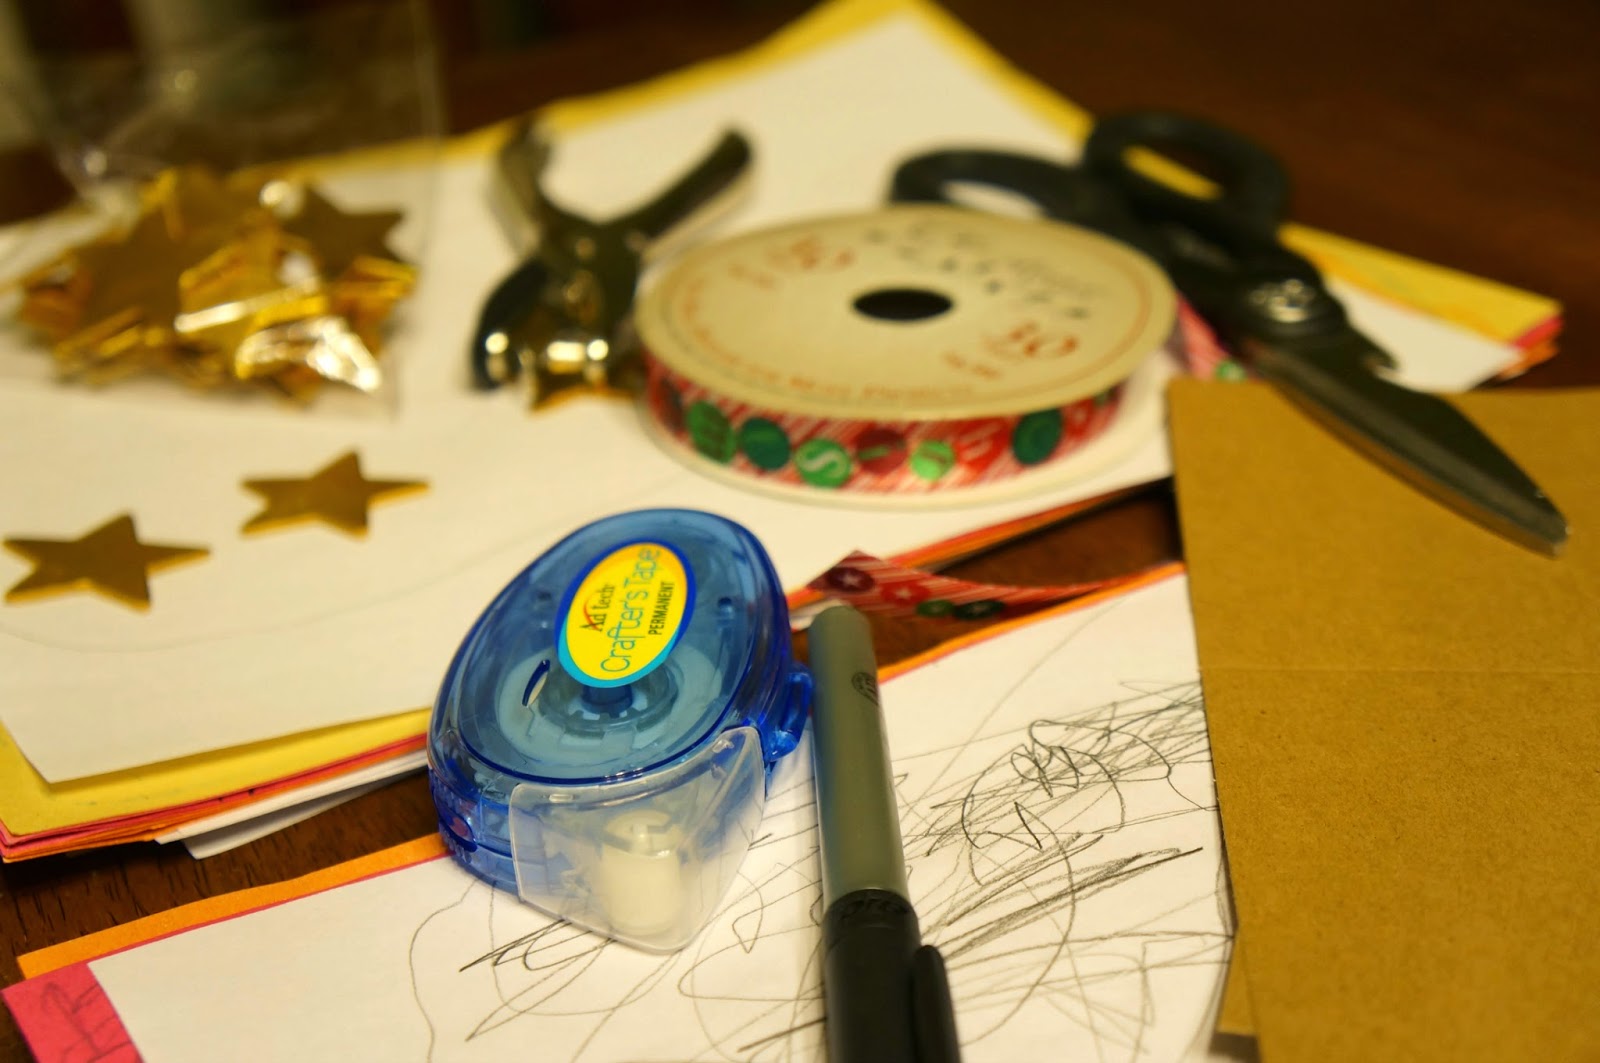
What you'll need

All of your toddlers sheets of scribbles and beautiful penmanship
Markers
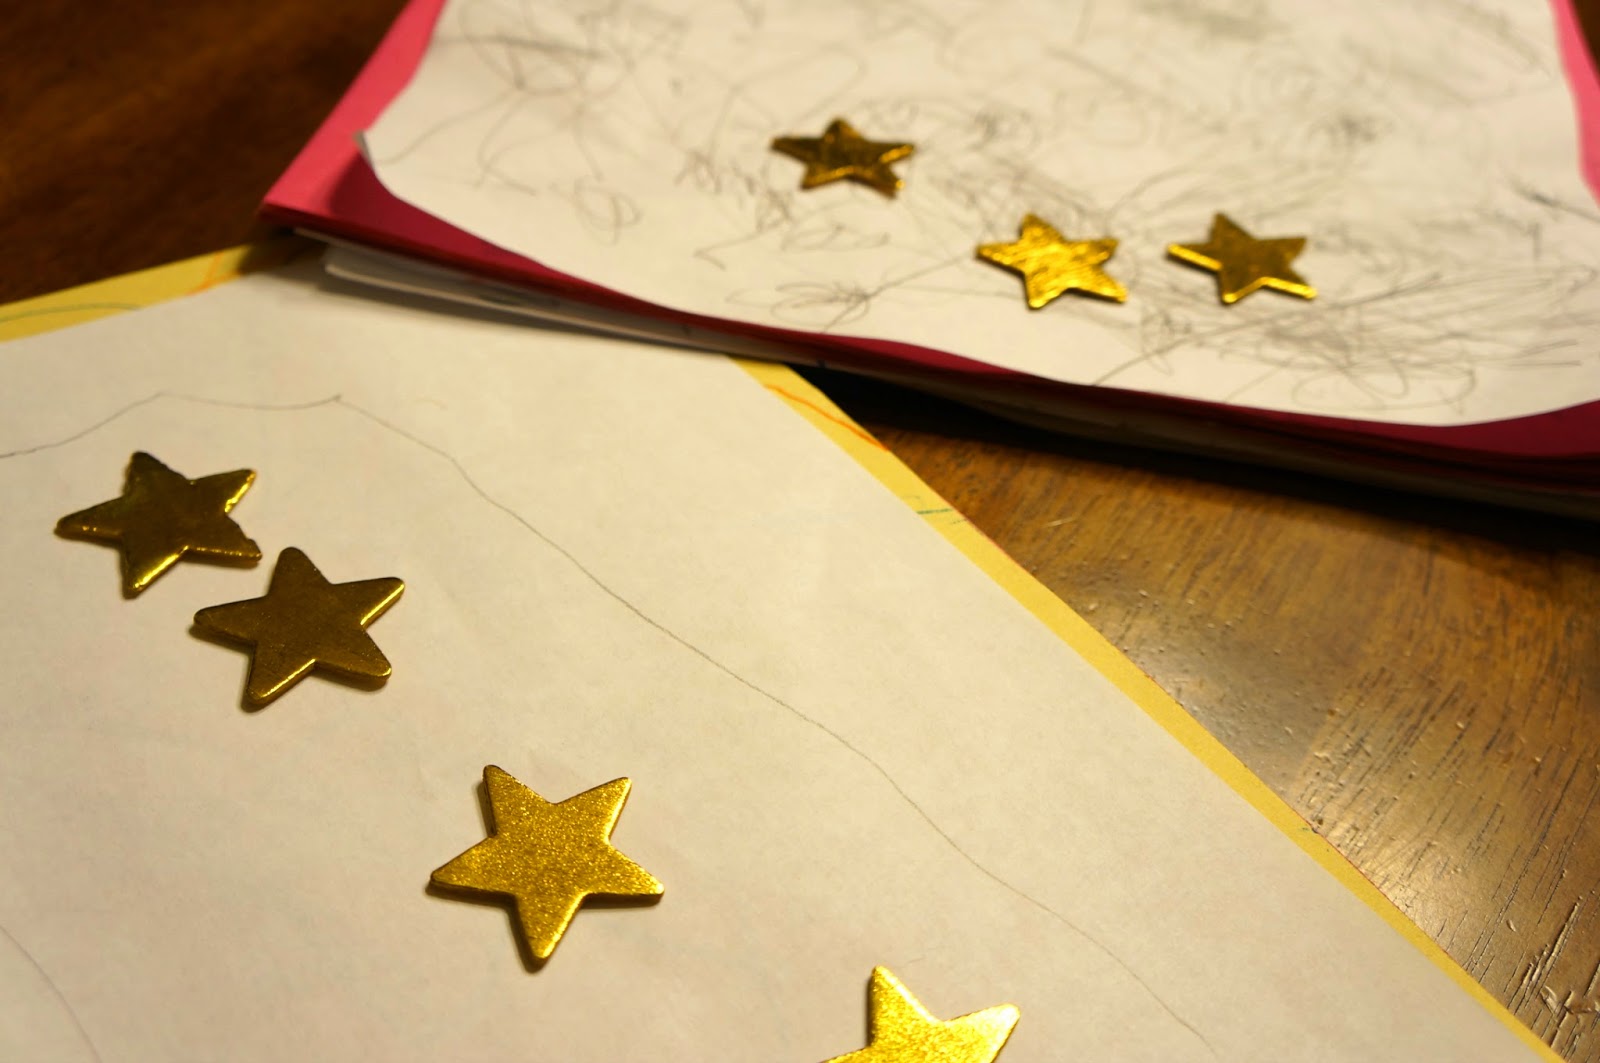
Whatever festive stickers you have
Festive Ribbon (I had some left over from last year)
Cardboard from a box or recycled brown cards
Scissors
Hole puncher (Advice: If you have a two hole puncher - use it! The one hole puncher will hurt your hand after all the papers of toddler art!)
Crafter's sticky glue (I used this to further stick whatever stickers have already been placed)


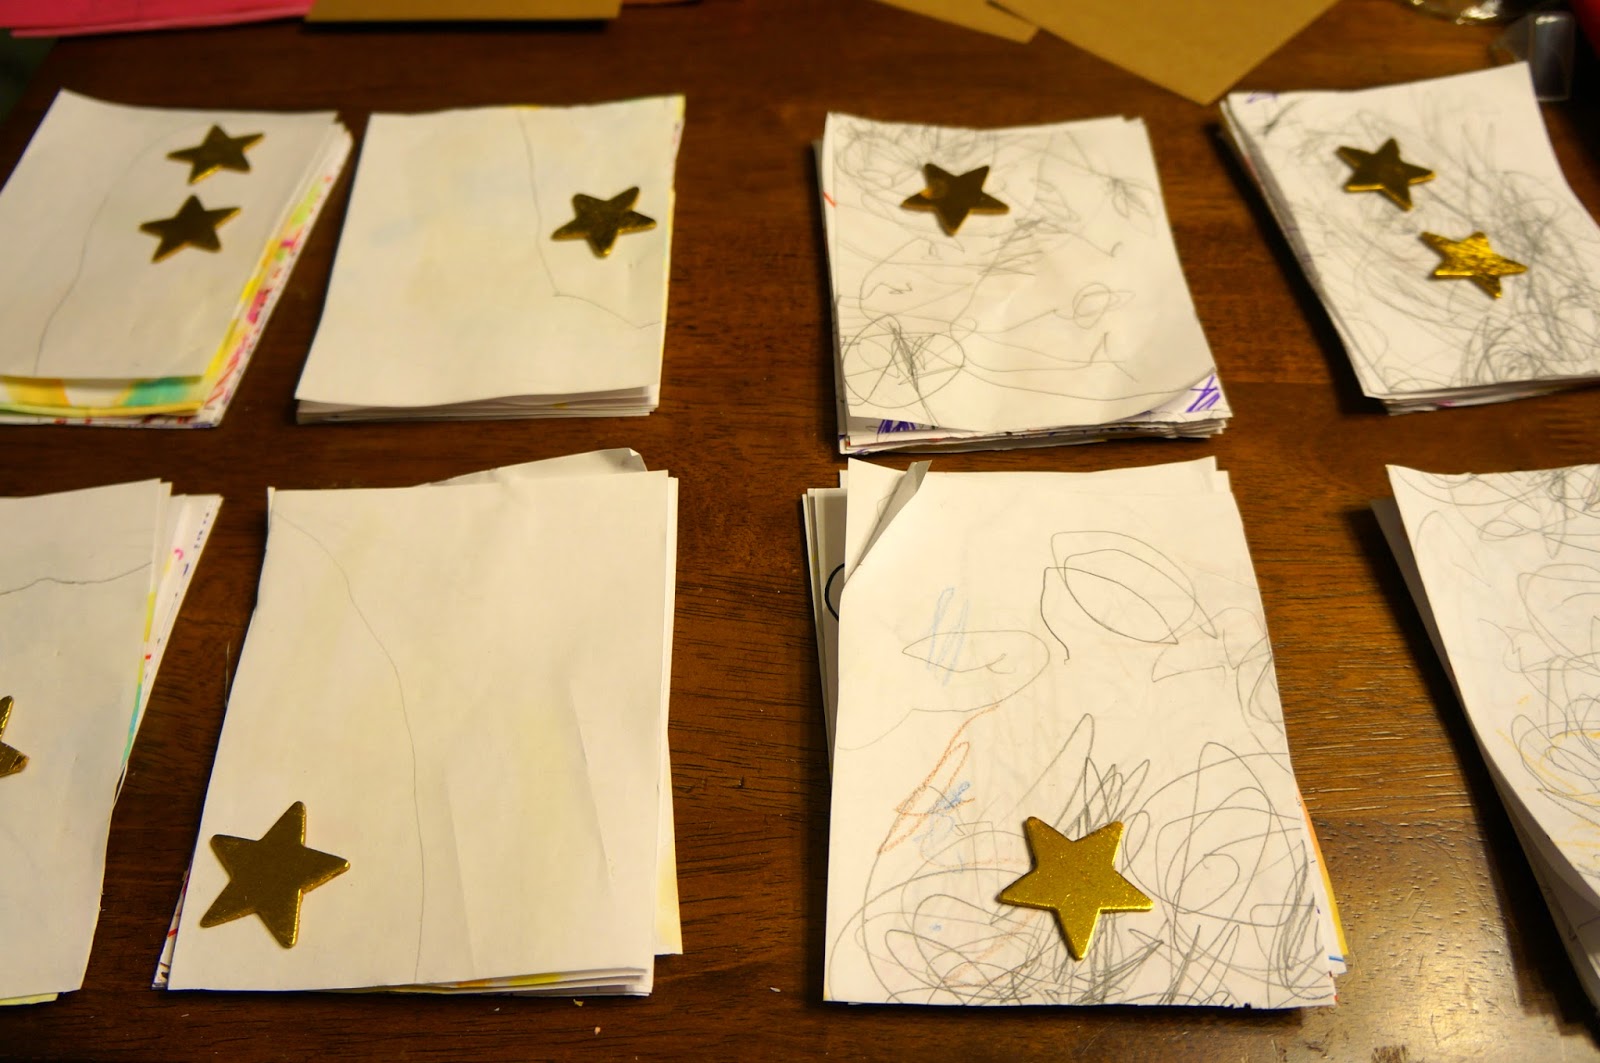
Get them all organized into two separate piles - 3 year-old pile and 1 year-old pile. Cut into fours (We have three sets of grandparents and will be keeping the fourth little book from each of the boys' for our little home.).


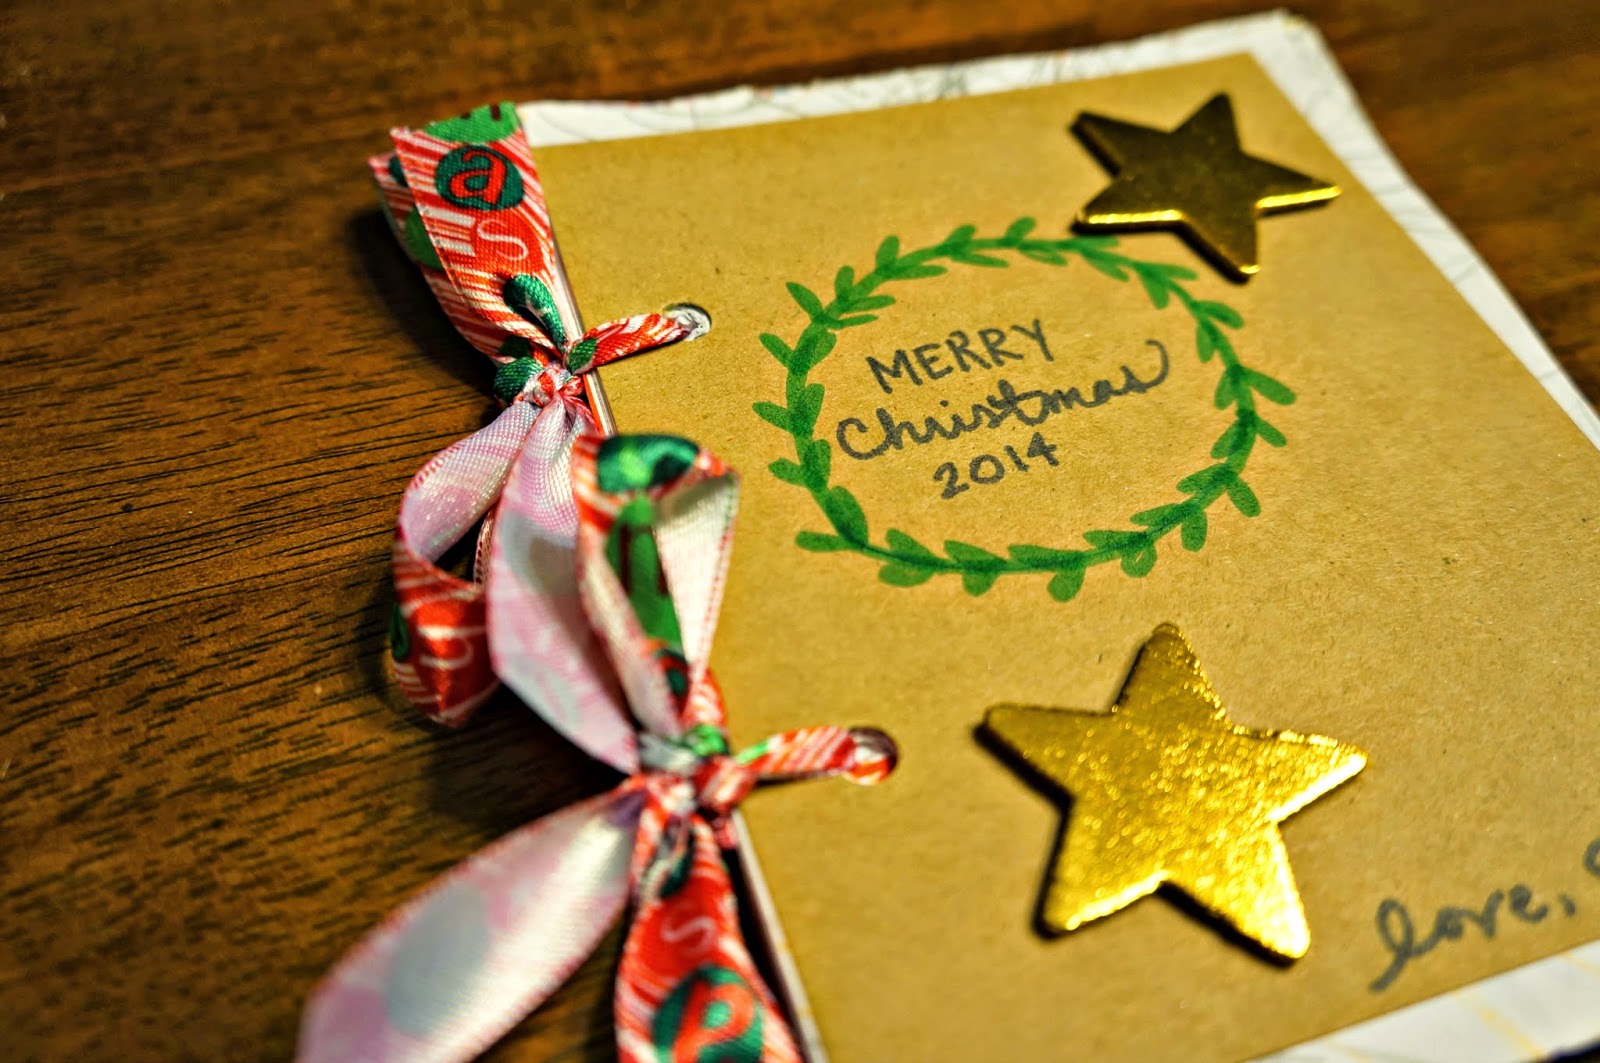
Cut, hole punch, and tie your ribbon through. Add some little detail and maybe let the boys share some more marker fun on the front and back cover to further make their styles identifiable (Haven't done this yet.) and Tadaaaa! Kid-Made gift with some help from mama....because 3 and 1 year olds.


Theresa, thanks for having me and giving me a reason to wrap up all of my boys' hard work into a gift!

Do you all have stacks of scribbles? If so, hope you enjoyed this little gift! And, if not, share your wisdom with me!

*   *   *   *   *   *

other kid-made gifts in this series:


*   *   *   *   *   *

And... depending on time and energy, I may have one or two last minute projects cooking up here at Ordinary Lovely, so check back next week for more...


Friday, November 28, 2014

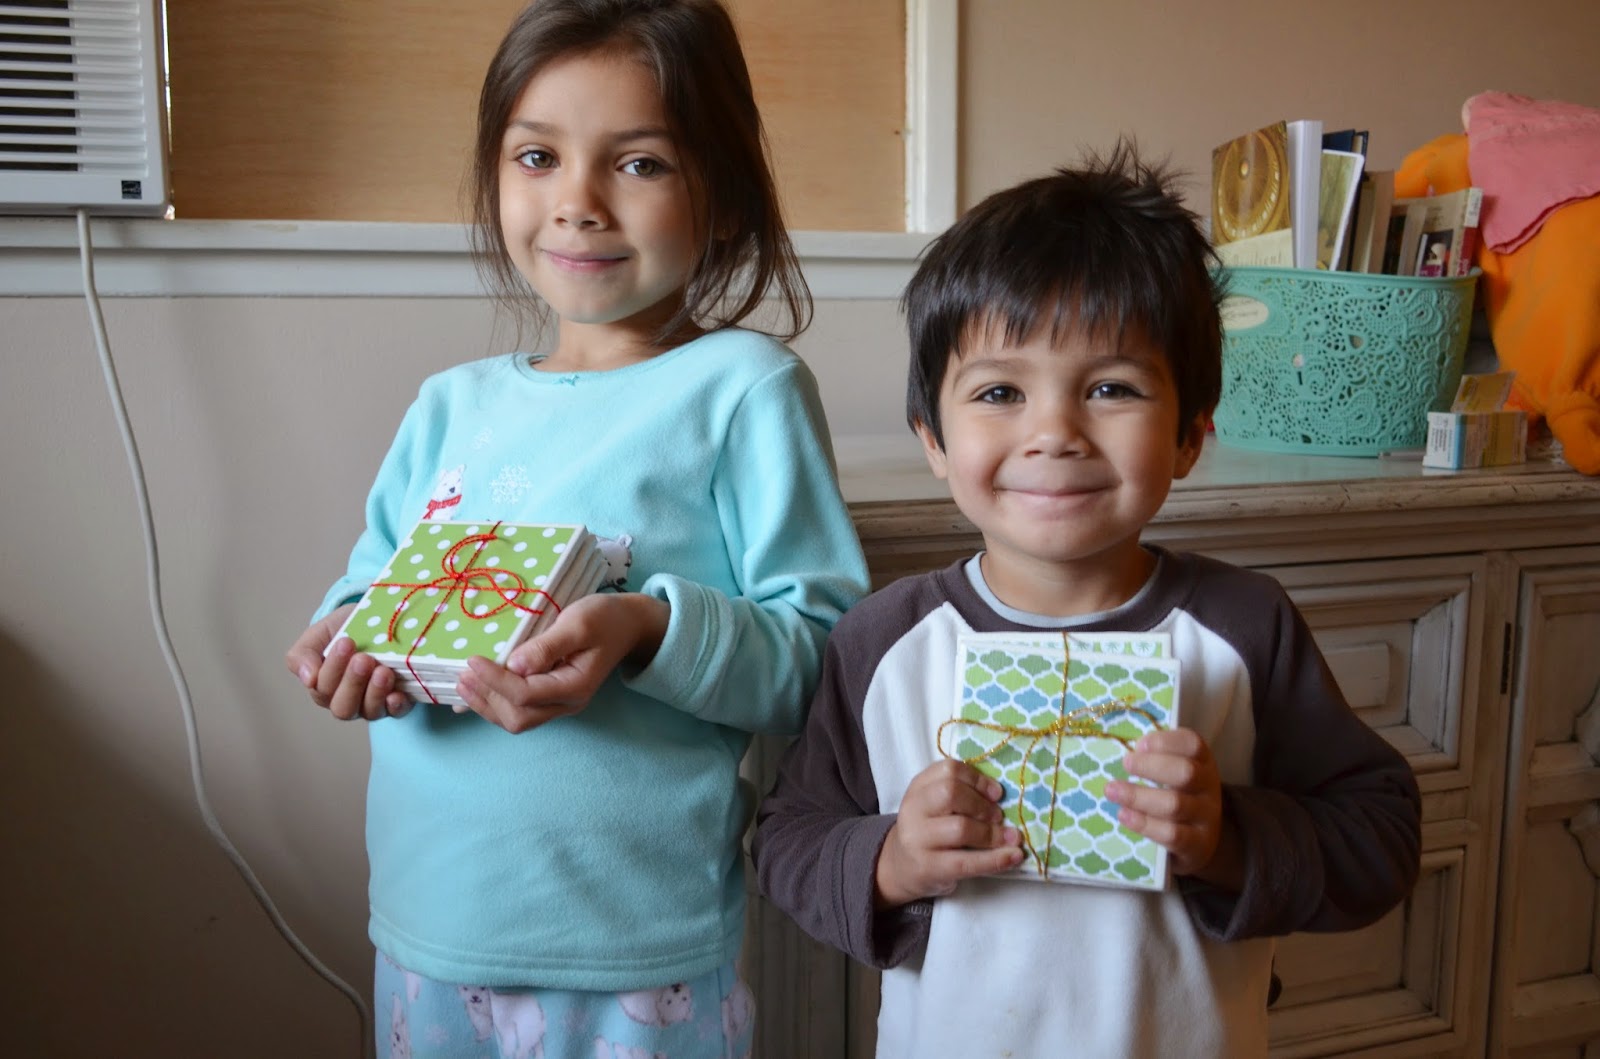
Ceramic Tile Coasters (Kid-Made Gift Series)

I'm so happy to have Veronica from His True Image blogging
here today for the latest in the Kid-Made Gift Series!  
Veronica blogs about the beauty of life with her husband of ten years and 
their three little ones.  She's a fellow fan of St. Josemaria Escriva, which automatically makes us kindred spirits!  
This was one of her posts that I particularly enjoyed :) 
After you're done checking out the project she and her kiddos did here, head 
over to her place and poke around!  
Welcome Veronica, and thank you for sharing your time and talents here!

*   *   *   *   *   *

“It's not how much we give but how much love we put into giving.” 
-Bl. Mother Teresa


** Many thanks to Theresa for having me here at her wonderful blog and for giving me the opportunity to share some ideas for her Kid-Made Gift Series! **

 It's beginning to look a lot like Christmas... shopping, that is.  And why not do a little shopping – and crafting – around your very own house?!  Christmas crafts are the best and a great opportunity for your kiddos to understand and experience the virtue of generosity!

We decided to make some lovely coasters.  Cute and functional – doesn't get much better than that! 


Here's what you need:
·       4 x 4 white ceramic tiles (found at Home Depot or Lowe's)
·       your favorite scrapbook paper (you can also use paper napkins or cotton material)
·       Mod Podge (any finish you'd like)
·       foam brushes
·       scissors
·       clear acrylic finish spray
·       adhesive felt circles


Since my kiddos' cutting skills aren't the best, I did the cutting for this project!  First, I traced the tile onto the scrapbook paper (I traced it 8 times since we made two sets!).  Next, I cut out the squares slightly smaller than what I had traced (i.e. If your tile is 4 x 4, then cut your paper into a 3.75 x 3.75 square).


Now, the fun part.  The kiddos spread Mod Podge all over each tile, as evenly as possible, and then placed the scrapbook paper squares on top of each tile.  Make sure to smooth out the paper as much as you can in case any air bubbles are visible.  Let the tiles dry about 20 minutes then add a layer of Mod Podge on top. 


 *Note: at this time my youngest decided waiting was way overrated and went to play while mom and big sister finished the gifts! *


Wait another 20-30 minutes for this to dry and apply another coat of Mod Podge on top.  We applied a total of 3 layers,  but you can do as many as you'd like.  We waited about an hour after the final coat and then took the tiles outside (or any other well ventilated area) and sprayed them with a clear acrylic finishing spray – 2 coats in total. 


Lastly, we placed four small adhesive felt circles on the bottom of each tile and voila!  Two beautiful sets of coasters for grandma and abuelita!


*   *   *   *   *   *

other kid-made gifts in this series:


*   *   *   *   *   *

I'm posting a different craft idea every week, so don't forget to check back for more...

Tuesday, November 11, 2014

Embroidery for Young Football Fans (Kid-Made Gifts Series)

Craftiness and gift giving aren't just for girls.  My boys (who are 7 and 8) occasionally enjoy craftiness beyond popsicle stick boxes and pencil cans.  Their interest in sewing must stem from my own enthusiasm for such things.  They know if they want to get my attention they just have to ask to sew :)

This year the boys have been working on simple embroidery projects to give as gifts to the men of our family.  Boys embroidering gifts for men sounds a little suspicious, but I assure you, we're keeping it as manly as possible with NFL team logos as our focus :)  There is, of course, no need to limit embroidery to football logos, but that's what's been popular around here lately.


What you'll need:

embroidery hoop
craft felt or other fabric
craft thread, like this DMC Prism Craft Thread  
(craft thread tends to be better for kids than traditional embroidery floss b/c the strands don't separate)
craft needle
tape
glue and ribbon for hanging


Print your desired logo to size (to fit into whatever size embroidery hoop you are using.)

By securely taping the image to the felt, kids will have an easy pattern to follow using a simple back stitch.  (youtube tutrial here)


Once the stitching is done, you will need to tear off the paper very carefully.  
Holding down the stitches with one hand, use the other to gently tear the paper as close to the stitches as you can.  


When all the paper is off, turn the work over and gently pull the threads to the back to tighten up and stitches that may have been pulled loose by removing the pattern.


Tighten the felt in the hoop, trim the edges, and add a ribbon for hanging. 


That's it.  It's that simple and that fun!  (even for boys!)


*   *   *   *   *   *
Also in this series...


Scrappy Yarn Sun Catchers

Tune in next week for more kid-made gift ideas!


Related Posts Plugin for WordPress, Blogger...